In development. A first prototype is being built now. Nothing is on sale yet.
A smart indoor planter you print and build yourself.
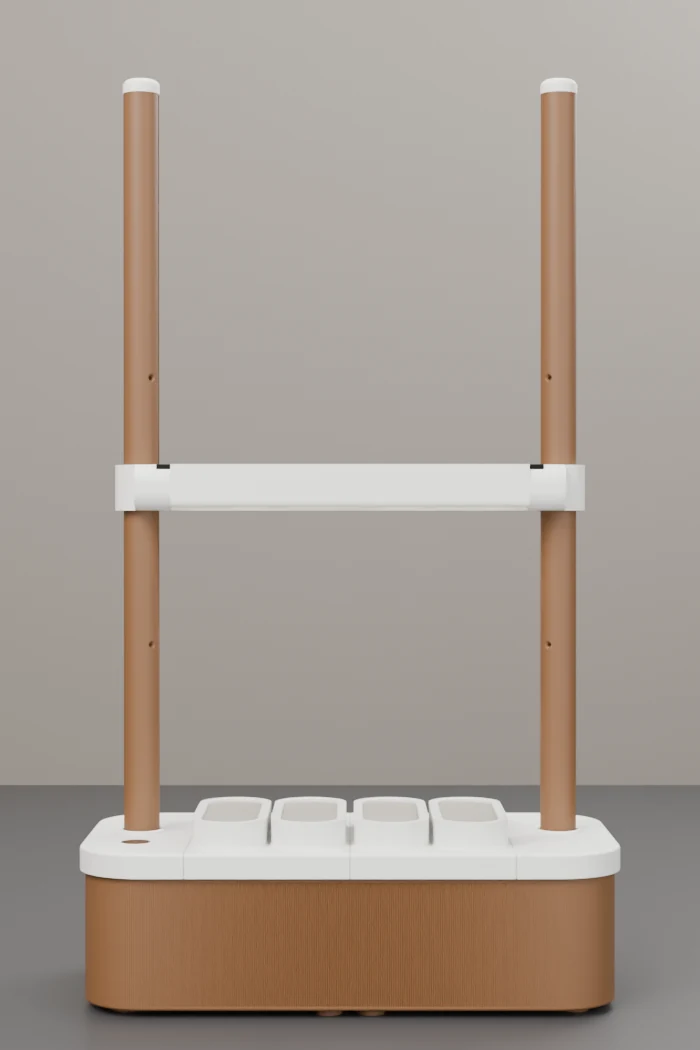
SproutPod waters by wicking, lights the plants from a bar above and records their growth with a camera. It runs on your own Wi-Fi and talks to Home Assistant over local MQTT.

How it worksWater from below, light from above, a camera watching.
This describes the design being built. The planter firmware is not written yet.
-
Wick
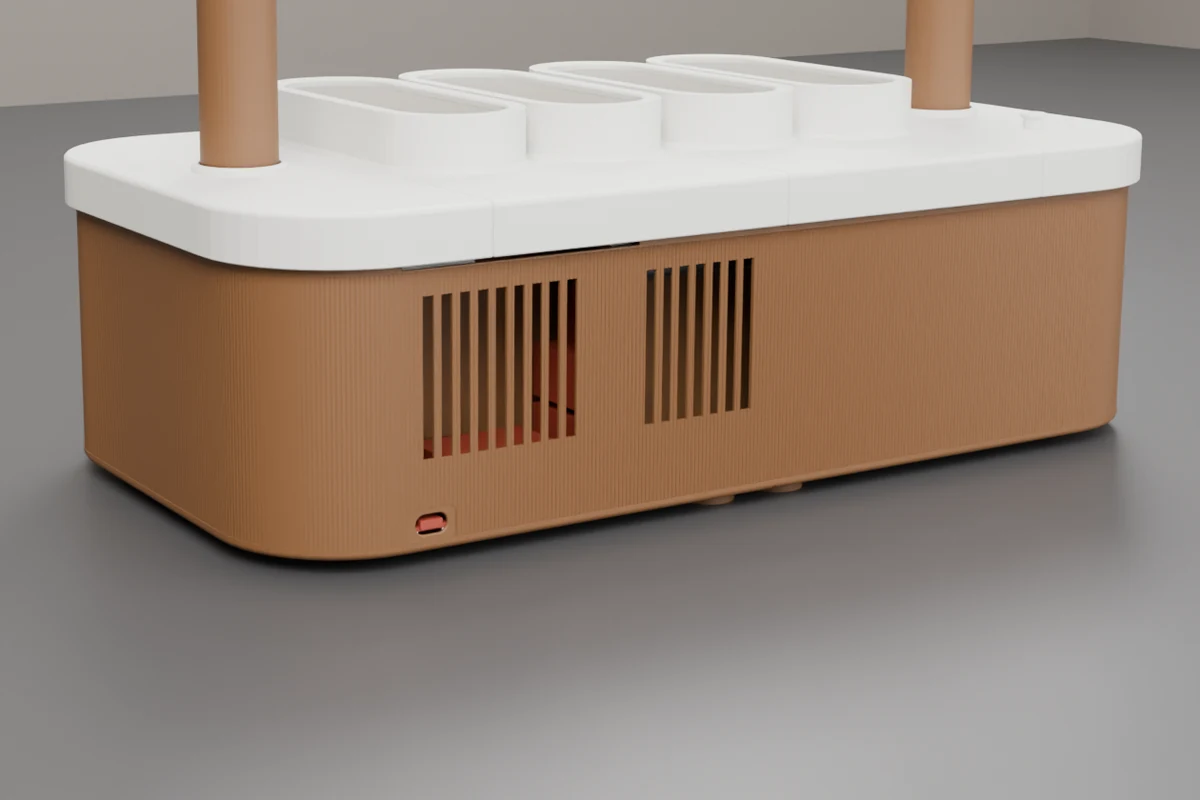
There is no pump. Water wicks up through coco from a reservoir in the base. A float switch notices when the water runs low, and the app sends you a low-water alert.
-
Light
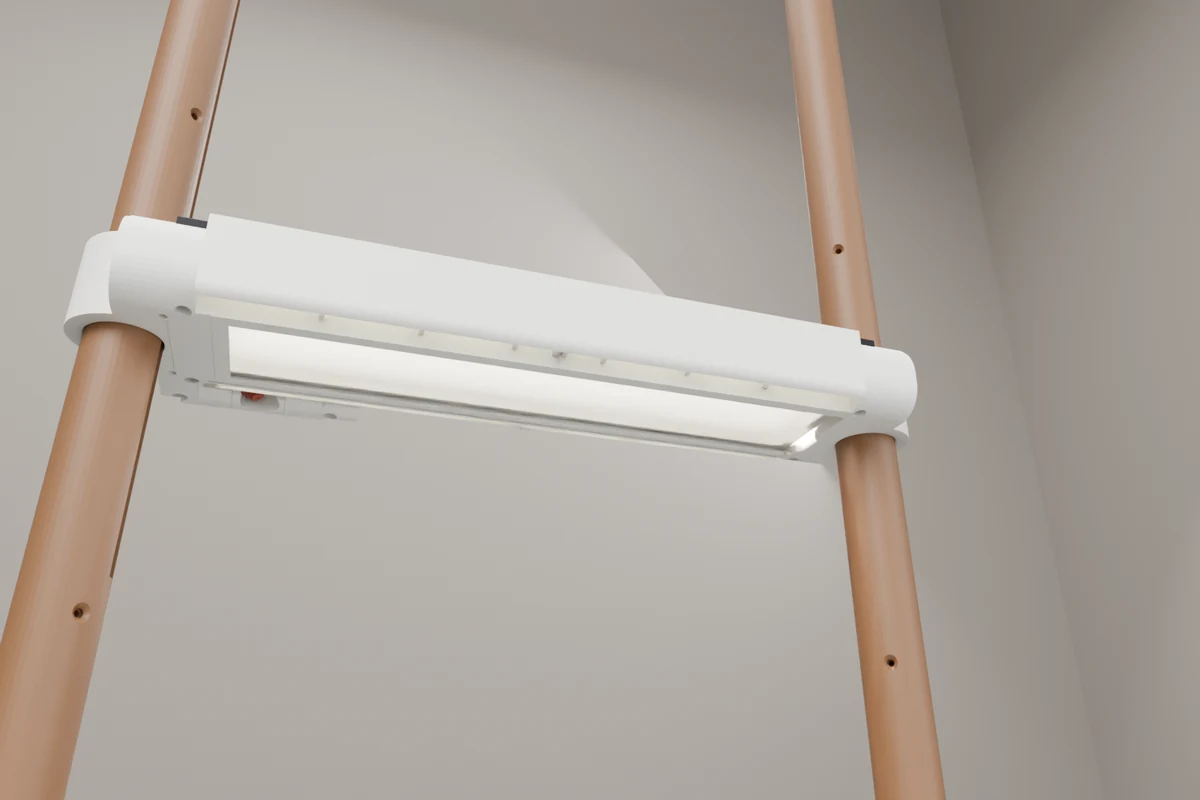
A grow-light bar sits on two poles above the plants. Inside are two Bridgelux Thrive full-spectrum LED strips, 5000 K and CRI 98, on an aluminium plate. The app runs a light schedule, and you can override it by hand.
-
Camera
A Seeed XIAO ESP32S3 Sense with its camera builds an automatic timelapse and a growth curve. Watch the timelapse as a video in the app, or export it.
-
App
An Android app and a web app, both in development: light schedule, low-water alert, timelapse and growth curve. A temperature and humidity sensor sits on the planter too.
What you buildYou print the body. A kit brings the rest.
The print
The body is 3D printed in PETG. It was designed on a Bambu P1S.
- Printable part types
- 44, plus 9 optional
- Material
- PETG
- Print files
- Free to download at launch
No printer? Printed parts are planned as an option.
The kit
The electronics and the parts you cannot print will come as a kit.
- Controller and camera: Seeed XIAO ESP32S3 Sense
- Grow light: two Bridgelux Thrive full-spectrum LED strips (5000 K, CRI 98) on an aluminium plate
- Power: USB-C PD, from a 45 W charger (listed separately below)
- Water: low-water float switch
- Air: temperature and humidity sensor
KitsPlanned kits, with estimated prices.
Nothing is on sale yet. A first prototype is being built and the planter firmware is not written. The kits below are a plan. Every price is an estimate and may change.
-
Planned
Basic kit
£129 estimate
Light and float switch. No camera, no air sensor. Charger not included.
-
Planned
Full kit
£149 estimate
Light, camera, air sensor and float switch. Charger not included.
-
Planned, optional
Charger and cable
£25 estimate
A 45 W USB-C charger and a 1 m cable.
-
Planned, optional
Level-sensor add-on
£19 estimate
A magnet in the printed water gauge and a Hall sensor. You fit it yourself; a setup wizard in the app walks you through it.
-
At launch
Print files
Free
Free to download at launch. Printed parts are planned as an option for anyone without a printer.
Local firstYour Wi-Fi, your Home Assistant.
Pair locally
Pair the planter with the code printed on the unit. It works on your own Wi-Fi, and no cloud account is needed for pairing.
Home Assistant
SproutPod connects to Home Assistant over local MQTT, with auto-discovery.
The light is the signal
During setup the grow light shows you where things are.
Slow breathing: ready to pairTwo blinks: connected
StatusWhere it stands.
- Prototype buildIn progress
- AppIn progress
- Planter firmwareTo follow
- Print files and kitsTo follow
Want to hear when files and kits are ready?
Register interest